I’m Tim Briggs, owner of Collision Edge. We are dedicated to the success of our customers. Putting it simply, we find new solutions to old problems. Collision Edge Website
A battle for the ages. Body techs and painters have been arguing about filler work since the day the first shop split up Combo Techs! It’s easy to make filler straight with coarse abrasives, but the devil is in the details when refining filler for primer and final paint. Why do many technicians think primer is a magic wand? Let’s discuss the why’s and how’s to a better paint foundation.
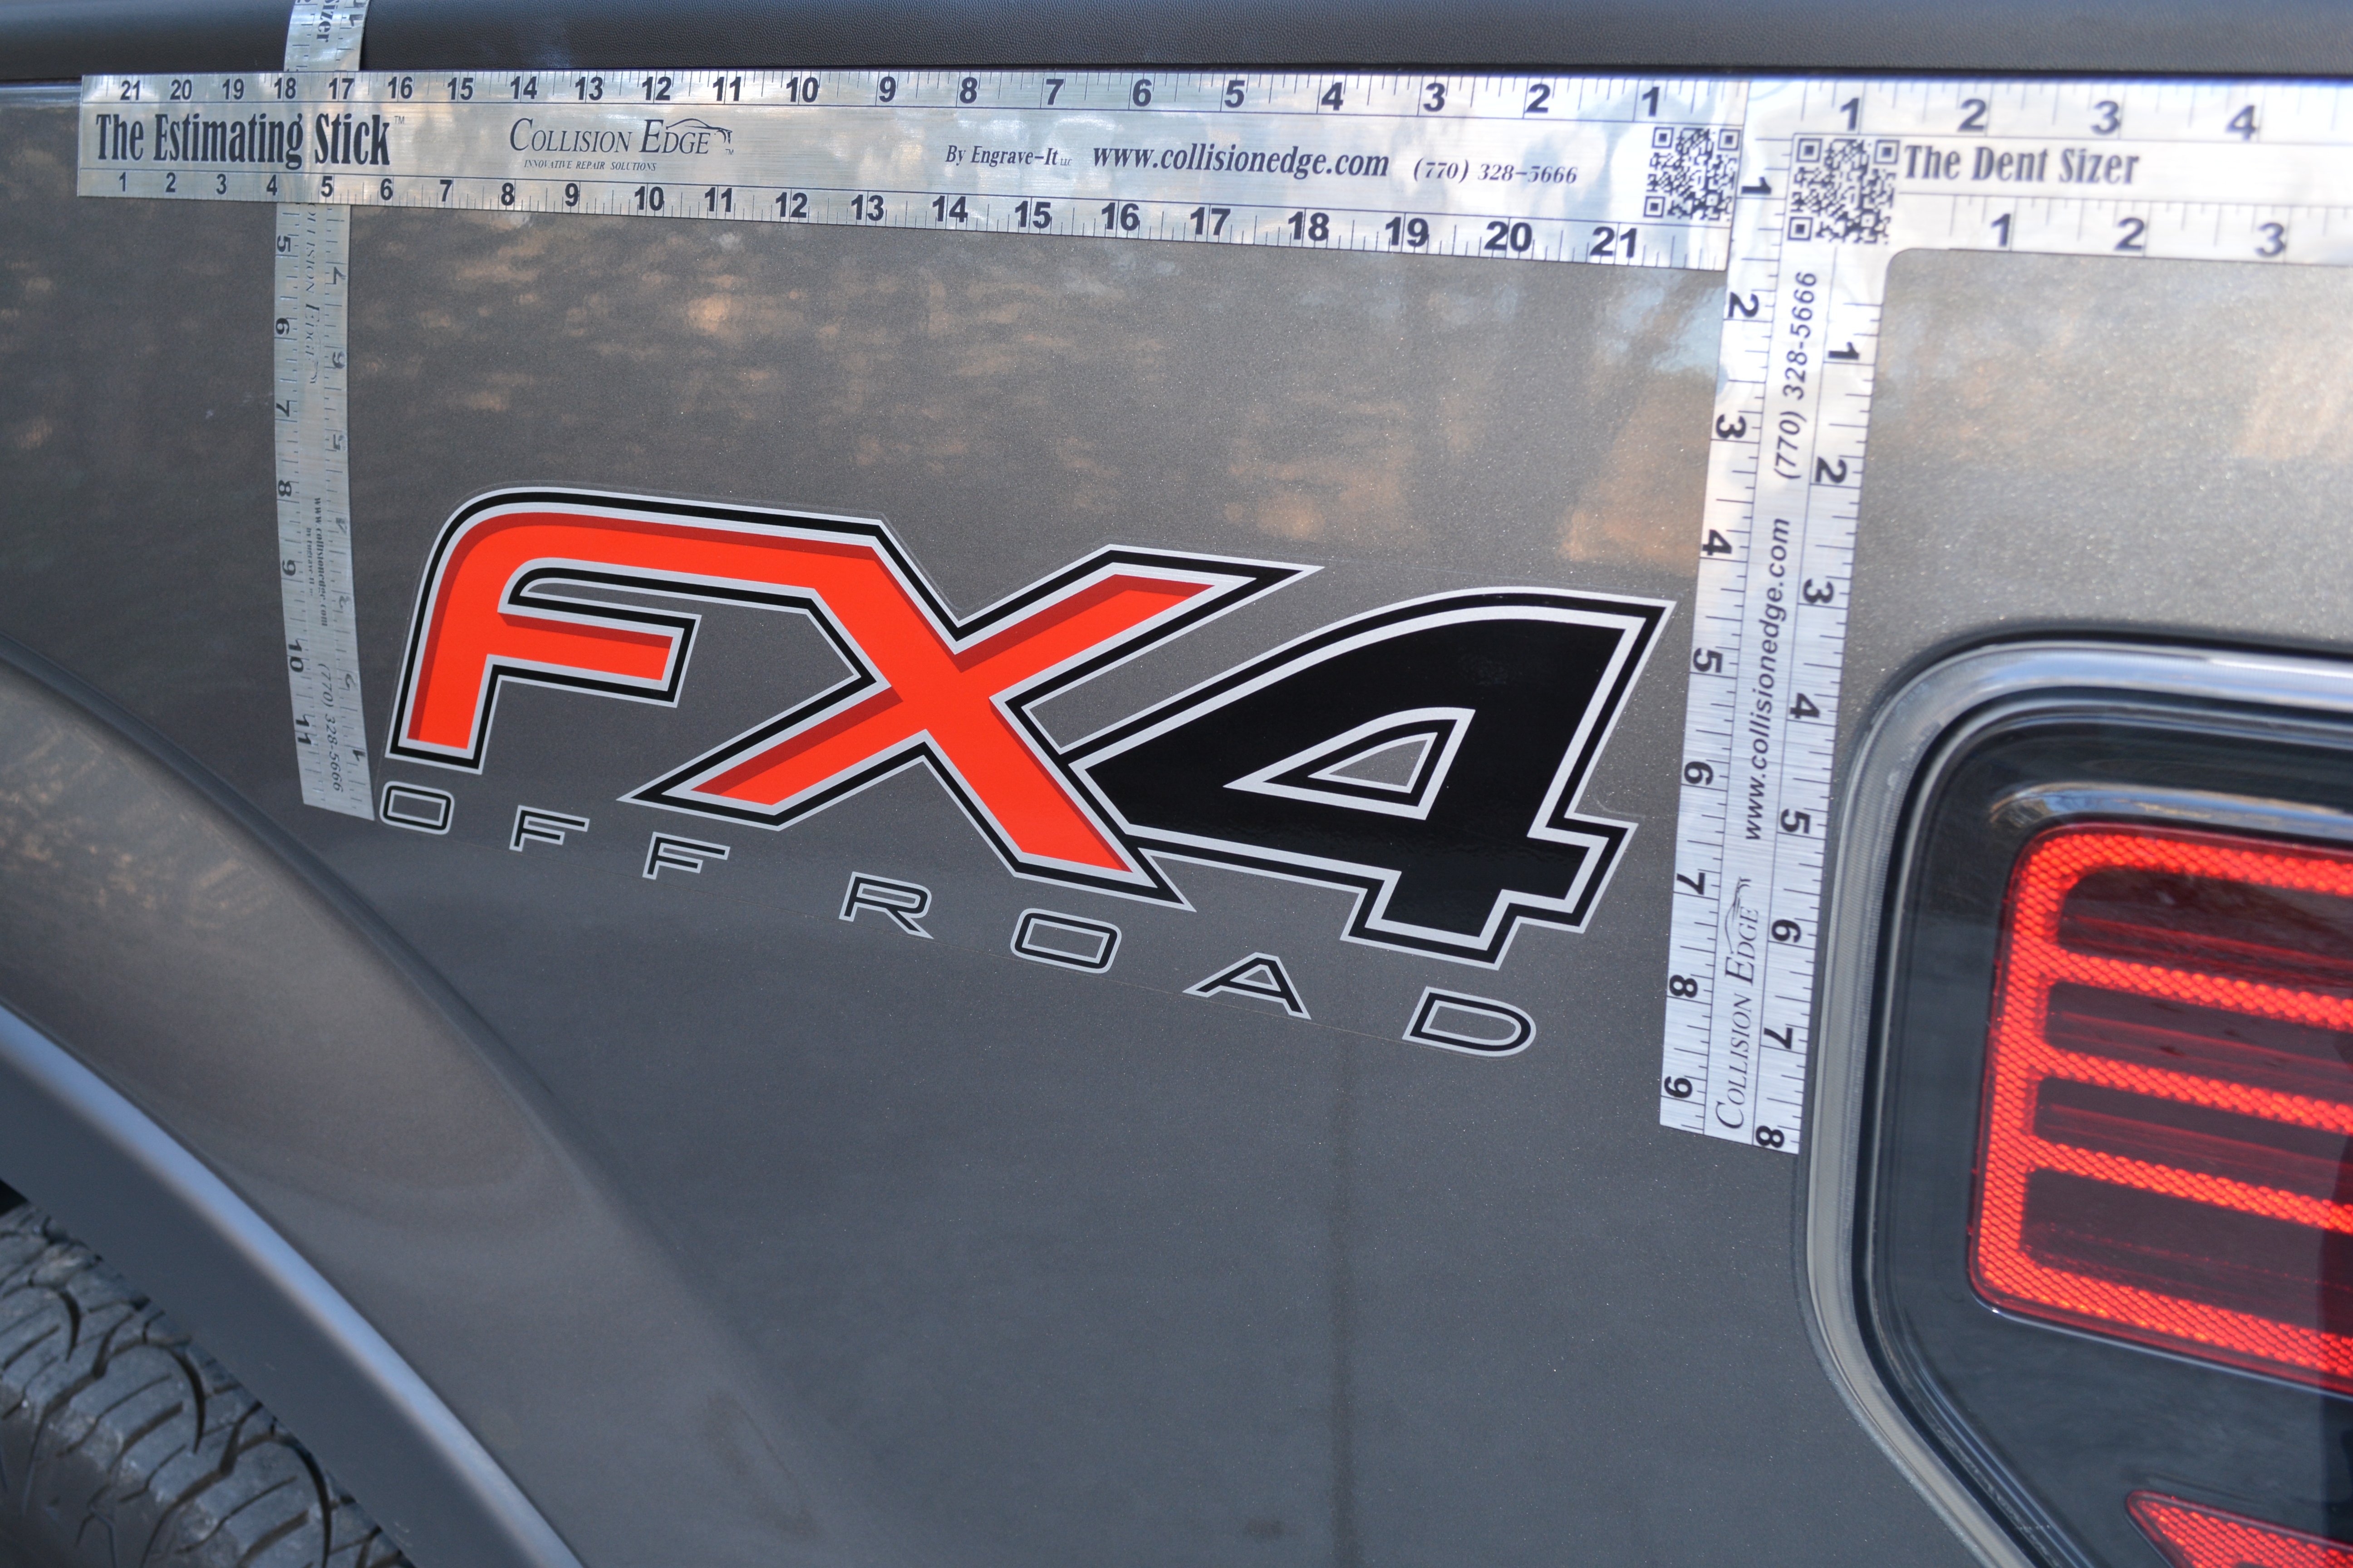
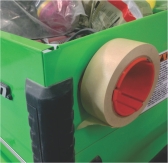
Pictured above is a typical repair that paint shops are priming up day in and day out. So what is the big deal? Consider this.
Thermal Expansion- Every form of matter expands and contracts at its own rate when the temperature changes.
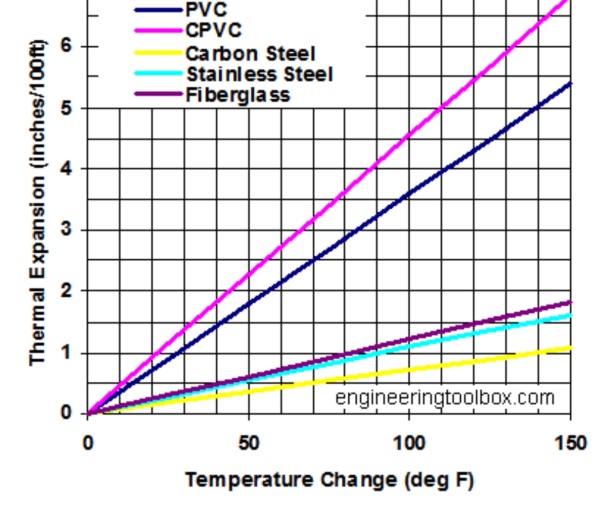
filler repairs are a lot like blending a color, the goal is to mask the expansion and contraction of various materials by priming over the exposed repair elements ( Plastic Filler, Glaze, Etch Primer, Ecoat, ect) create a consistent surface. Sand scratches create problems because they expose different materials in a pattern left by the “wounded surface” of a panel.

Urethane Primer- Everyone knows that lacquer primer doesn’t do the job, but even the best Urethane Primers are still over 50% solvent. Some of the solvent will remain in the dry film for a significant time after it is dry and sanded so some shrink will always occur no matter which primer you use. For this reason, many custom painters will sand a filler to open the surface to allow the solvent to escape several days before re-priming. The primer shouldn’t be over-applied for these same reasons. Two priming applications are often better than one because less solvent is trapped at the surface. Waiting on primer or multiple priming applications is not practical for a production shop, so it most crucial to minimize sand “gouging” during minor panel repairs. Courser abrasives are great for shaping a surface, but technicians have to be careful to first minimize deep scratches but later refine those scratches with finer abrasives before priming.
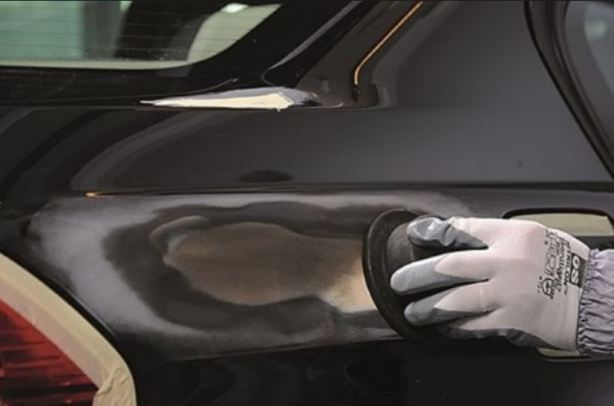
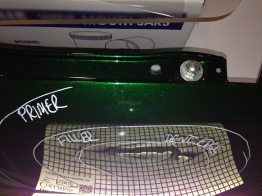
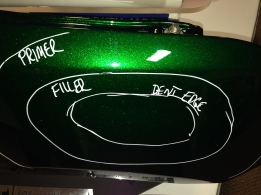
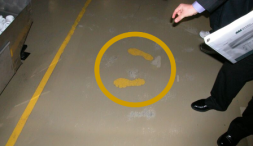
Guide Coat- Guide Coat is the best way to identify stray scratches that will cause priming issues. Many companies offer great solutions, some like Mirka even offer additional color options like White. Sanding filler with the next finest grit doesn’t really count unless a technician completely removes the coarser scratch. Guide coat is the best way to identify if this has been accomplished.
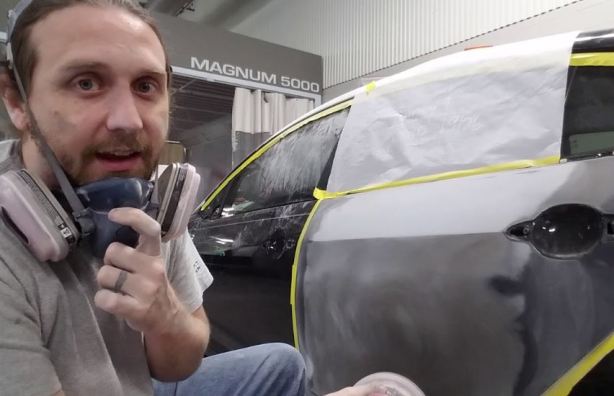
Photo Courtesy of Boothtalk – Jeremy Winters
Pin Holes – Let’s talk about pinhole repair. The Most obvious answer is “Don’t make pinholes” and if you talk to good people that make your filler they are sure to be able to give you some tips that will minimize pinholes (that is a topic for another day). One product does stand out to use in conjunction with your primer. Evercoat 440 Express is a unique product that if used correctly will make a big difference in your filler finish. This product will not fill every pinhole or sand scratch, but is a nice addition for certain minor defect correction. We grabbed the application instructions and posted them here.

Big Jobs. If for whatever reason you need heavy filling capability over large areas, many people use a product called “Polyester Primer”. Polyester primer is a very low solvent primer that is slow to dry, but has minimal shrink because it’s essentially a fiberglass resin barrier coat that acts like a “Spray on Bondo”. Note that it is advisable to topcoat Polyesters with “Urethane Primer” to maximize topcoat adhesion and seal the porous surface left behind after the Polyester is sanded. (Don’t wet sand polyester)

Photo Courtesy of Rob Paddock – Paddocks Paint Works. Rob Uses Clausen Rust Defender.
Spray Gun Selection. Here is what we recommend. Dig the nastiest gun you own out of th e bottom your toolbox and Throw it away! Primer is the foundation of a paint job and yet many technicians choose to use inconsistent, poor atomizing guns because “It doesn’t seem to matter”. Wel,l guess what,it does! Poor atomizing guns pack solvent into your primer bed. These same solvents have to come out later. After all your hard work to make that glassy finish, we don’t want you to be dissatisfied. Secondly, Feed your gun clean dry air, and don’t forget about high flow fittings, they make a huge difference in your guns performance.
There are many good spray gun companies in the market at any price point you choose, we are most confident in SATA spray equipment. SATA makes a really nice primer gun. We talked to Miguel Perez from MAPR Designs recently about his choice of primer guns. Miguel uses the SATA 100 BF for his work at Extreme Performance in South Florida. Miguel told us that this gun offers the consistency and versatility he’s after all at a price point that delivers the goods for his priming needs.


Approach to Sanding Method. Scratch depth varies according to the sanding method. Straight Line sanding creates the deepest cornrow in your substrate, Orbital sanding results in a shallower scratch and surprisingly the bigger the orbit the sallower the scratch. (keep this in mind for finish sanding too.)
Sandpaper construction. Scratch depth for the same grit across multiple manufactures varies because of the construction of the abrasive. Think of the abrasives as rocks buried in mud, all are the same size, some are sunk into the abrasive adhesive resin and dry lubricant deeper that others. In short 80 Grit in one brand may leave a finer or coarser cut than another. Be aware and use what seems to work best for you. Today’s fillers sand very easily, 80 Grit is the new 40 Grit when it comes to filler leveling. Pay attention to the adjacent area around your repair to minimize the size of the repair. Don’t be afraid to use tape to protect areas you don’t want to sand, this will save everyone a lot of time.
100 Grit Rule. Pay attention to the 100 Grit Rule as much as possible. If you start with 80 Grit, refine that to 180 Grit (remember your guide coat will tell you if you removed all the deeper scratches) Refine your 180 Grit with minimum 240 but ideally 240 followed by 320 Grit. Use guide coat between each sanding operation. (you can also use some powder guide coat in clear coat blocking!)
Wrap Up. If you are priming over an average 180 grit scratch, you are trying to fill too deep a profile. Consider taking the extra step in sanding to minimize many downstream issues that are created by primer shrinkage.
Collision Edge is committed to solving problems for the Collision Repair Market. Visit our website www.collisionedge.com
We hope you enjoy our blog post, Drop me a line any time Tim@CollisionEdge.com
 rder comes in from the